- Latest
- Trending
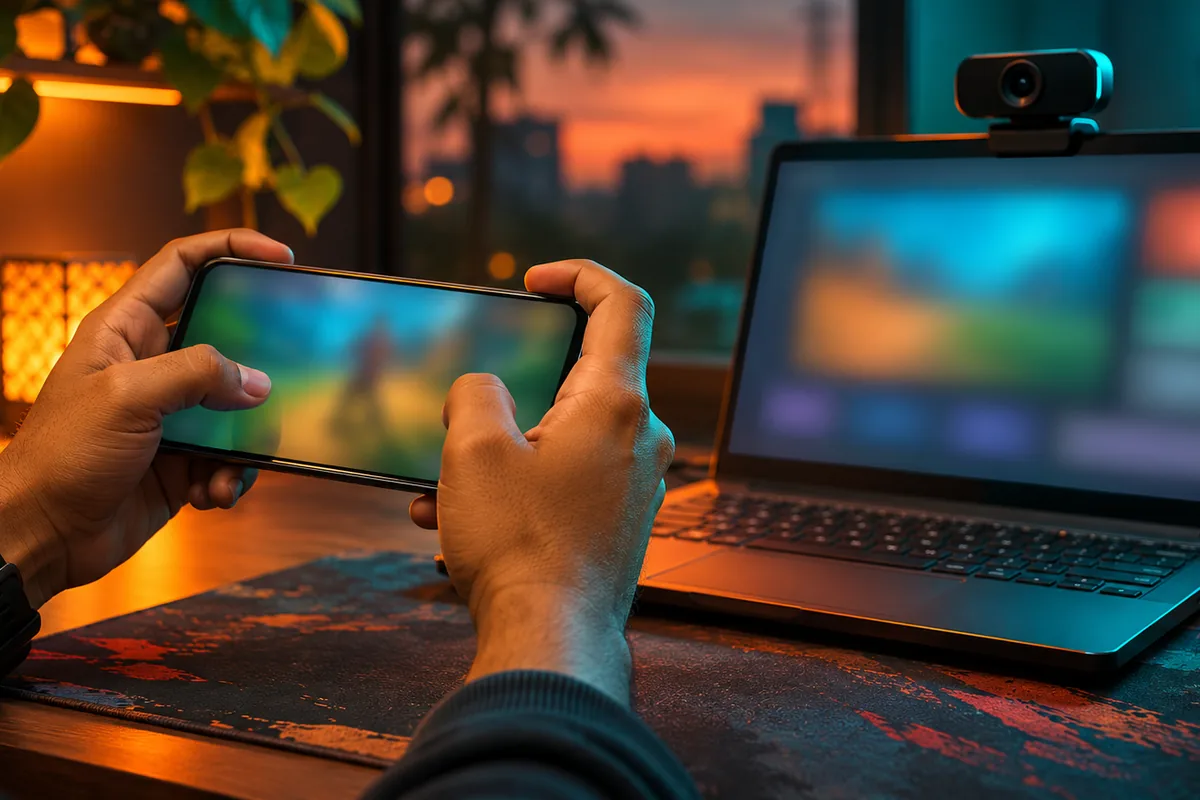
OBS Virtual Camera lets you share an OBS Studio scene with a calling app that can use a webcam, including Discord. To turn it on, click Start Virtual Camera in the OBS Controls dock. Then choose OBS Virtual Camera as the camera in your calling app. When the call is over, click Stop Virtual Camera in OBS.
The main OBS virtual camera setting for a gaming call is what the camera shows. You can use Program to show the normal OBS output, or Preview to show the Preview when Studio Mode is in use. Choose the view you want other people on the call to see before you start changing scenes.
Open the OBS scene you want to share. In the Controls dock, click Start Virtual Camera. OBS can then present its video feed to an app that accepts a webcam. This is useful when the calling app cannot capture your screen directly but can use a camera feed.
In your calling app, select OBS Virtual Camera as the camera for the call. The camera choice is separate from the button in OBS: starting the virtual camera makes the OBS feed available, while selecting it in the calling app determines which camera the app uses. If the call is showing a different camera, check the camera selected in the calling app and make sure the OBS virtual camera is running.
Keep OBS open while you use its scene for the call. Before speaking to others, look at the scene you have chosen in OBS. The virtual camera is meant to share that visual output, so the scene is the place to decide what should appear in the feed.
Click the gear icon in the OBS Controls dock to open the Virtual Camera settings. The choice between Program and Preview changes which OBS view goes to the virtual camera. It does not change where you start or stop the camera; those controls remain in the Controls dock.
Program shows what OBS Studio normally outputs. For a gaming call, this is the straightforward choice when you want the camera feed to follow the normal OBS output rather than a separate preview. Check that your intended scene is the one being output before relying on it in the call.
Preview is available when you use Studio Mode. With this setting, the virtual camera shows the Preview. Anyone watching the video feed can see you changing scenes in that preview. Use it only when showing those changes is what you want. If you expected viewers to see the normal OBS output, switch back to Program.
Think of the virtual camera as the view other people receive, not just a view you use to arrange OBS. With Program selected, the feed follows the normal output. With Preview selected in Studio Mode, the feed follows the Preview instead. That distinction matters most while you are moving between scenes during a call.
Before changing a scene, consider which view the virtual camera is set to show. If you want to work in Preview without showing those changes to callers, Program is the better choice of the documented settings. If you deliberately want callers to watch the Preview change, choose Preview. You can return to the gear icon in the Controls dock to review the setting.
When you no longer want to share the OBS feed, return to the Controls dock and click Stop Virtual Camera. This is the same button you used to start it; its label changes while the camera is running.
For more gaming information, browse the mobile games category or the informational guides in the marketplace hub.
It is in the OBS Controls dock. Click Start Virtual Camera there to begin sharing the OBS feed with a compatible calling app.
Program shows what OBS normally outputs. Preview shows the Preview when Studio Mode is in use, including scene changes visible in that preview.
Click Stop Virtual Camera in the OBS Controls dock.