- Latest
- Trending
A green screen lets your webcam sit over your gameplay without showing the room behind you. OBS Studio does this with the Chroma Key effect filter, which OBS documents as removing every instance of a chosen colour from a source. The filter is available on Windows, macOS and Linux. This guide covers the setup, then every slider the filter exposes along with the default value OBS ships it at, so you know what you are changing from.
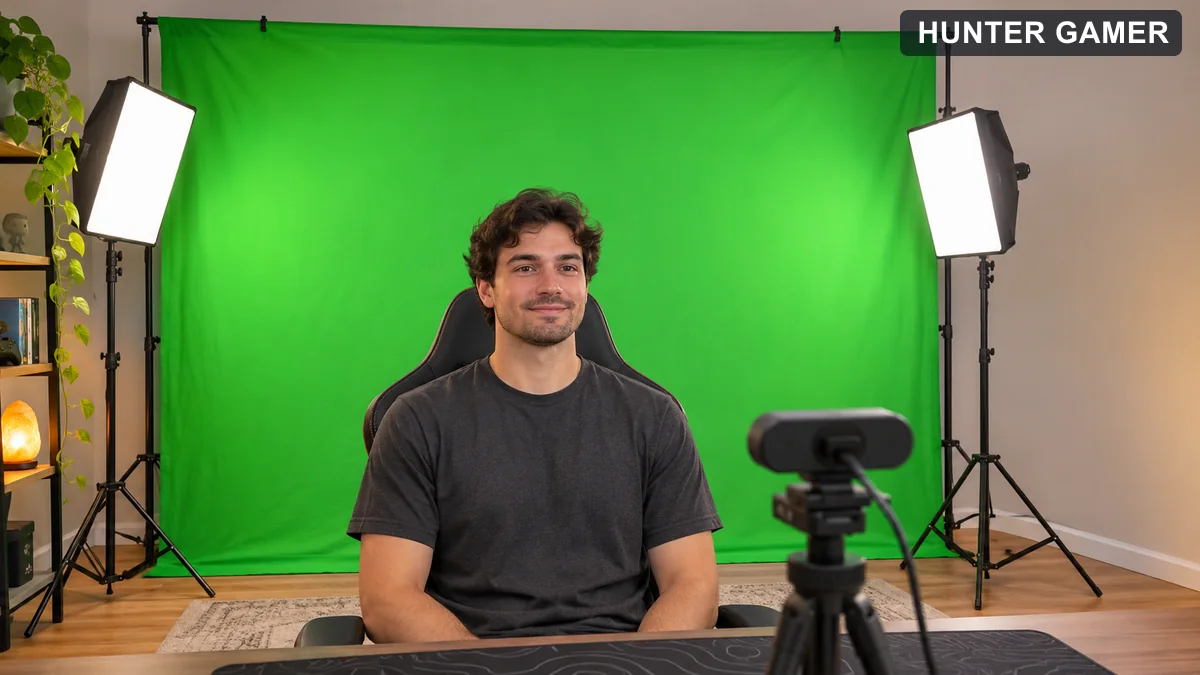
The backdrop and lighting advice in this section is practical guidance from working with chroma key, not something OBS publishes. OBS’s own Chroma Key page documents the filter’s controls and says nothing about lighting, backdrop material, or how far you should stand from the screen. It is still the part that decides whether the filter has an easy job or an impossible one.
These are the controls OBS lists for the filter, with the default value OBS publishes for each. If you lose track of what you have changed, these are the numbers to return to.
| Setting | Default | What it does |
|---|---|---|
| Key Color Type | Green | Picks the colour to remove. A custom colour can be set instead. |
| Similarity | 400 | How close a pixel must be to the key colour to be removed. Lower removes fewer pixels; higher removes more aggressively and may take out things you wanted to keep. |
| Smoothness | 80 | How soft the edge of the cutout is. Lower leaves hard edges around removed pixels; higher softens them. |
| Key Color Spill Reduction | 100 | How aggressively traces of the key colour are stripped from the edges of other colours. OBS gives green pixels around a subject’s hair as the example. |
| Opacity | 1.0 | Opacity of the source, where 0.0 is fully transparent and 1.0 fully opaque. |
| Contrast | 0.0 | Contrast of the source. |
| Brightness | 0.0 | Brightness of the source. |
| Gamma | 0.0 | Gamma of the source. |
Two things are worth saying plainly about this list. OBS publishes no recommended range for any of these sliders, only the defaults above, so any specific number you see quoted in a tutorial is that author’s preference rather than an official setting. And OBS’s own description of the Brightness control repeats the wording used for Contrast, which looks like an error on the documentation page rather than a statement about what the slider does.
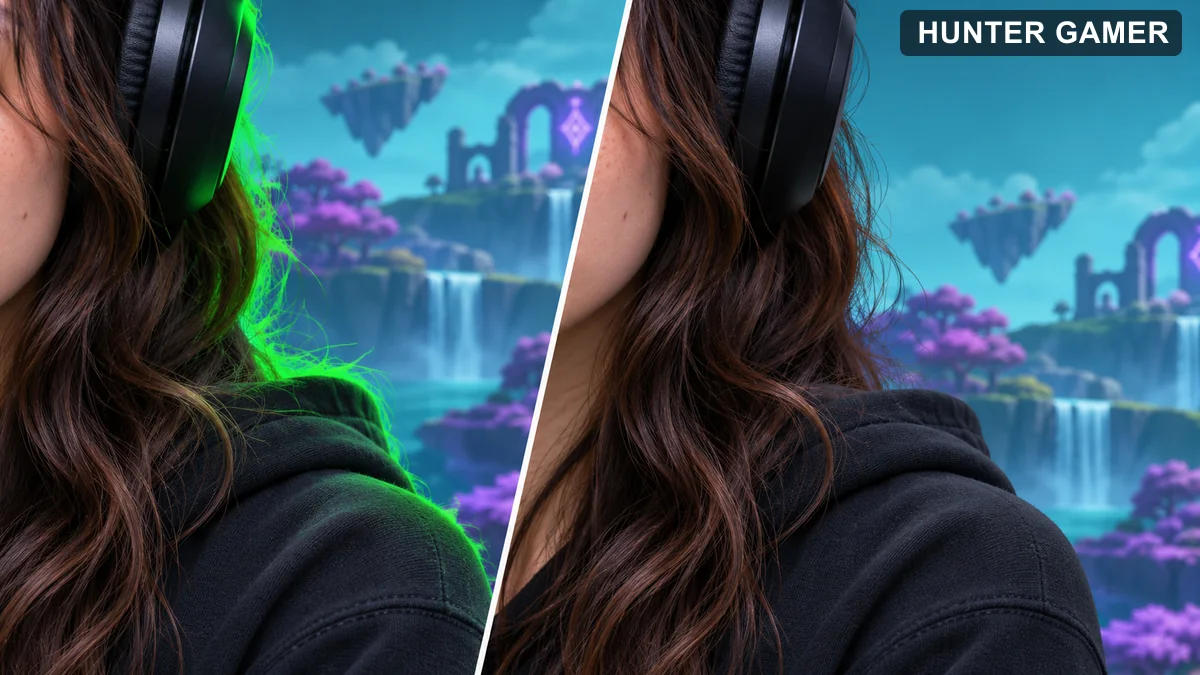
If the background is still patchy after all three, the problem is almost always the lighting on the backdrop rather than the filter. Fix the lighting and the sliders will have far less work to do. Check the result over your actual game scene as well, because edge artefacts that are invisible against a plain preview become obvious over a bright, busy image.
Key Color Type Green, Similarity 400, Smoothness 80, Key Color Spill Reduction 100, Opacity 1.0, and Contrast, Brightness and Gamma all at 0.0.
No. OBS publishes the defaults listed above and describes what each slider does, but gives no recommended ranges. Specific numbers quoted elsewhere are personal preferences, not official settings.
Yes. Green is the documented default, and OBS states that a custom colour can be set instead. Pick one that does not appear in your clothing, hair or skin.
OBS lists the Chroma Key filter as available on Windows, macOS and Linux.
For the Chroma Key filter, yes. It works by removing a chosen colour, so it needs an even block of that colour behind you to remove.
The filter description, the control names, the default values in the table, and the platform support above all come from OBS’s Chroma Key settings reference, with the source and filter steps checked against OBS’s webcam guide and Studio overview. The lighting, backdrop and tuning-order advice is this site’s own practical guidance and is not published by OBS. Reviewed November 12, 2026.